
What this covers: Creating a custom asset with the Screen Editor — Screenfluence's built-in design tool for making your own slides from text, images, shapes, and live elements like the date or weather, without any design software. A template is a pre-made design you can start from and reuse.
Before you start: Any images or video you want on the slide, ready to upload.
Create the asset
- Click Library in the left sidebar, then the green New Asset button.
- In the New Asset window, click Get Started under Create a Smart Asset.
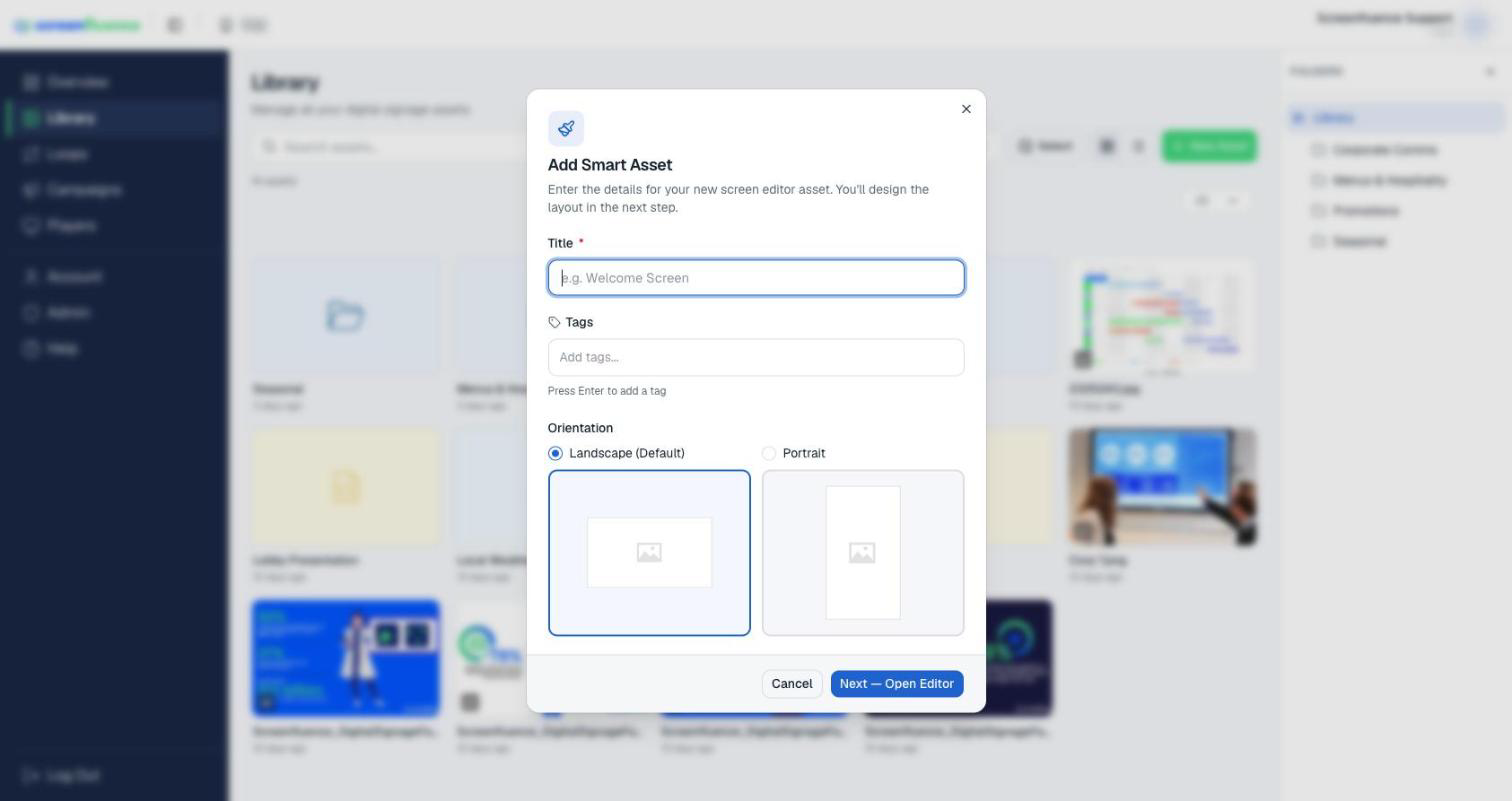
- Select Screen Editor ("Build a custom HTML asset with our drag-and-drop screen editor. Add text, images, shapes, and more.") and continue. In the Add Smart Asset window ("You'll design the layout in the next step."), enter a Title (optional Tags and Orientation), then click Next — Open Editor.
Start from a template (optional)
Click Browse templates — your own saved designs live under My Templates alongside Screenfluence's template categories. Pick one and Use template: your canvas fills in, ready to customize.
Build your slide
Add elements from the left panel:
- Text — a Title or a Paragraph. Click into the text to edit it, and use the properties panel for font, size, and color.
- Media — an Image, SVG, GIF, or Video uploaded from your computer.
- Shape — colored shapes for backgrounds, panels, and dividers.
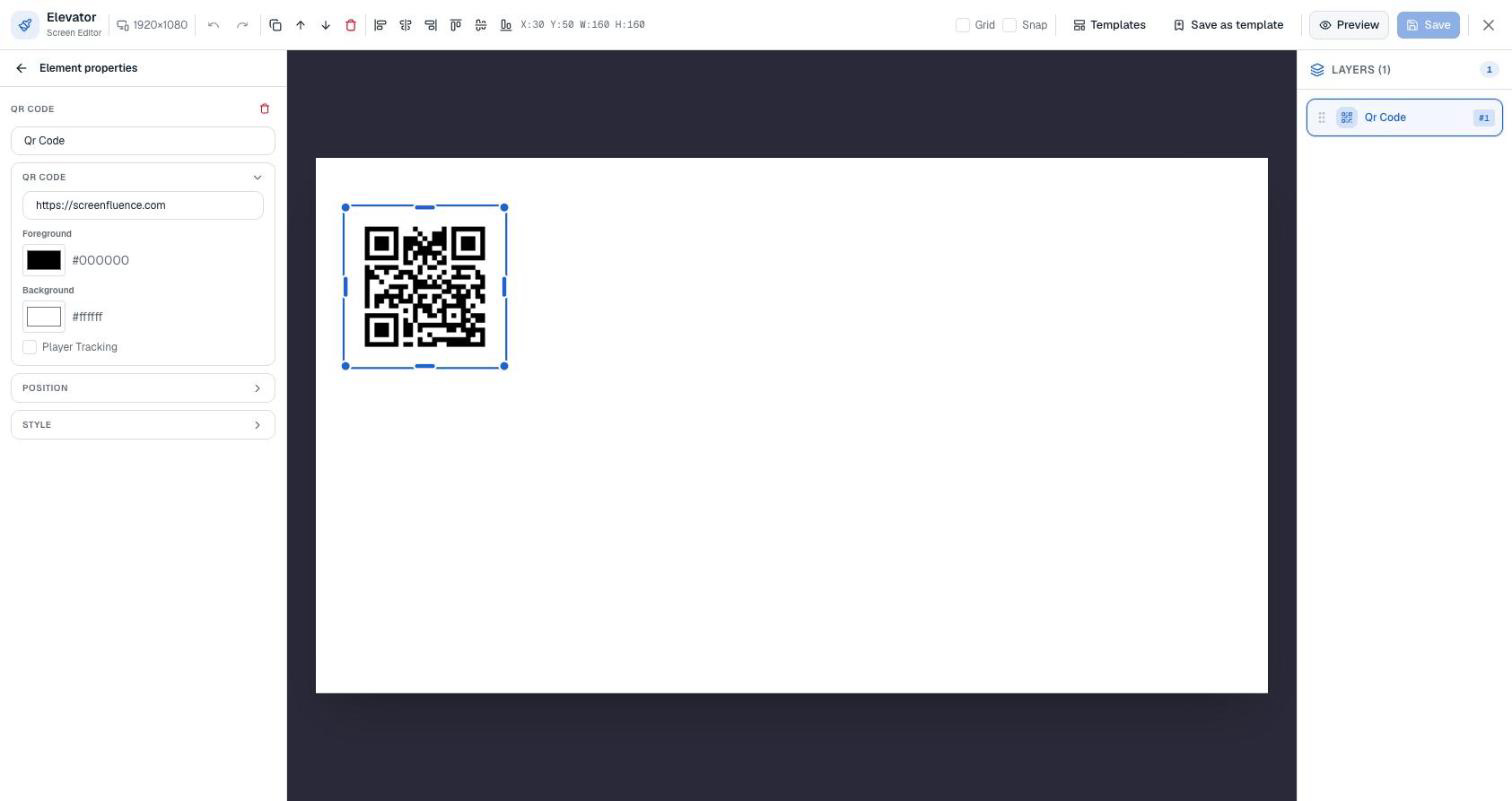
- QR code — a scannable code (point it at your menu, promo page, or WiFi details).
- Date Time — the current date and time, live on screen.
- Weather — a live weather element; set its location and add it.
Drag any element to position it; drag its corners to resize. The Layers panel is how you control stacking: drag a layer card up or down the list (a "Drop layer here" marker shows where it lands) or use its arrows — each card shows the element's position in the stack. On a tablet or phone, the element palette, properties, and Layers panels open as slide-in drawers from the toolbar, and elements move and resize by touch.
Save
- Save your asset — it lands in the Library, ready to drag into a loop (see How to build a loop).
- To reuse the design, Save as template — it appears under My Templates for next time (Update template keeps it current).
- Preview is available once you've saved ("Save your changes first to preview").
Tips & good to know
- Build for your screen's shape: the canvas matches the orientation you picked.
- Live elements (Date Time, Weather) keep themselves current on screen — design once and leave them.
- Templates are the fast path to a consistent look: design your layout once as a template, then create new assets from it and change just the words. Administrators can set the default Font Family for new designs (see Account settings & your profile).
Troubleshooting
- A warning appears when you add the asset to a loop, naming certain players: custom assets are an advanced feature some older player models don't support — the warning lists which, with our number: "Tel: (844) 772-7336".
- An empty canvas stares back: that's the starting point — "Add elements from the left panel", or start from a template.