Using SSO (Single-Sign On) with Screenfluence is available to enterprise clients only. In order to enable SSO please call Screenfluence Support to initiate the process.
If your identity provider is Okta, the following instructions will allow you to make the required configurations on your side, before a Screenfluence sales engineer can enable your account for SSO.
Add Application to Okta
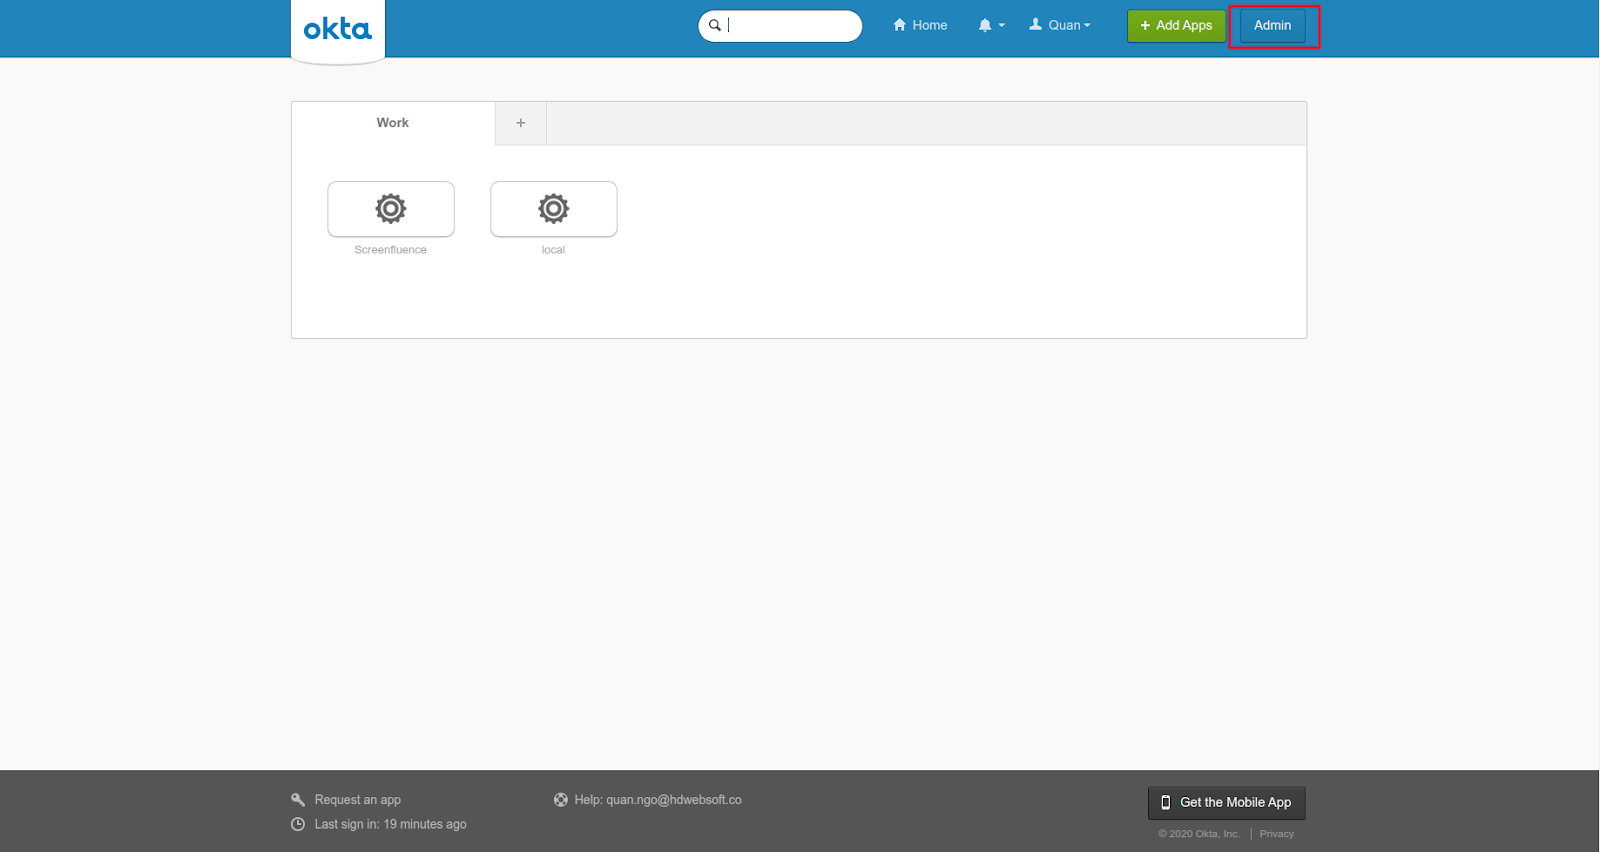
Go to your custom Okta domain at <domain>.okta.com and log in.
- Select Admin.
3. Select Applications, then "Add Application"

4. Select "SAML 2.0" and click Create.

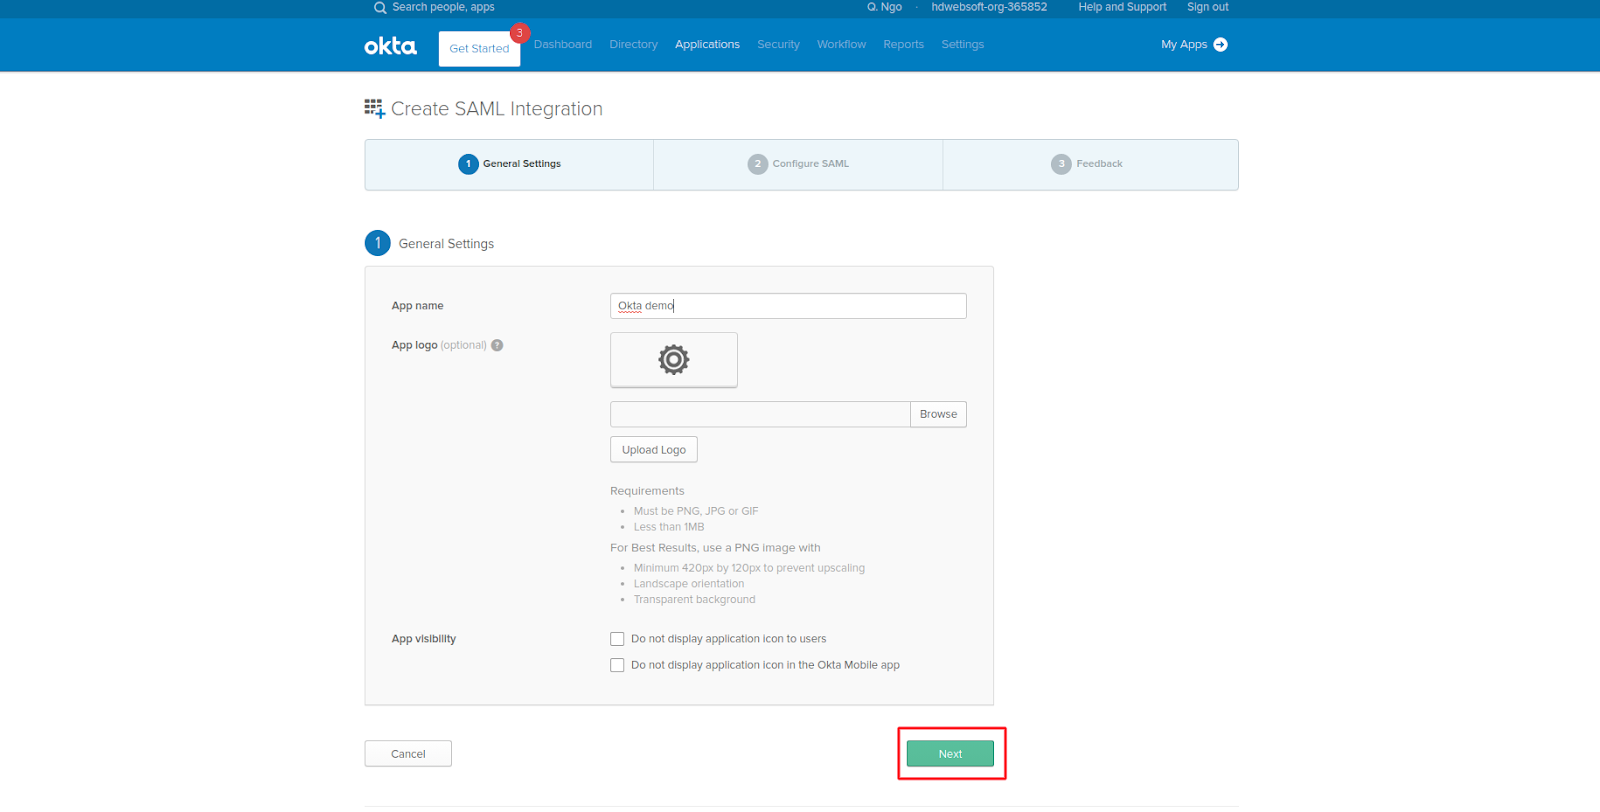
5. Choose a name for the application and logo as it will show in Okta. Then click Next.
6. Enter the following SAML 2.0 settings
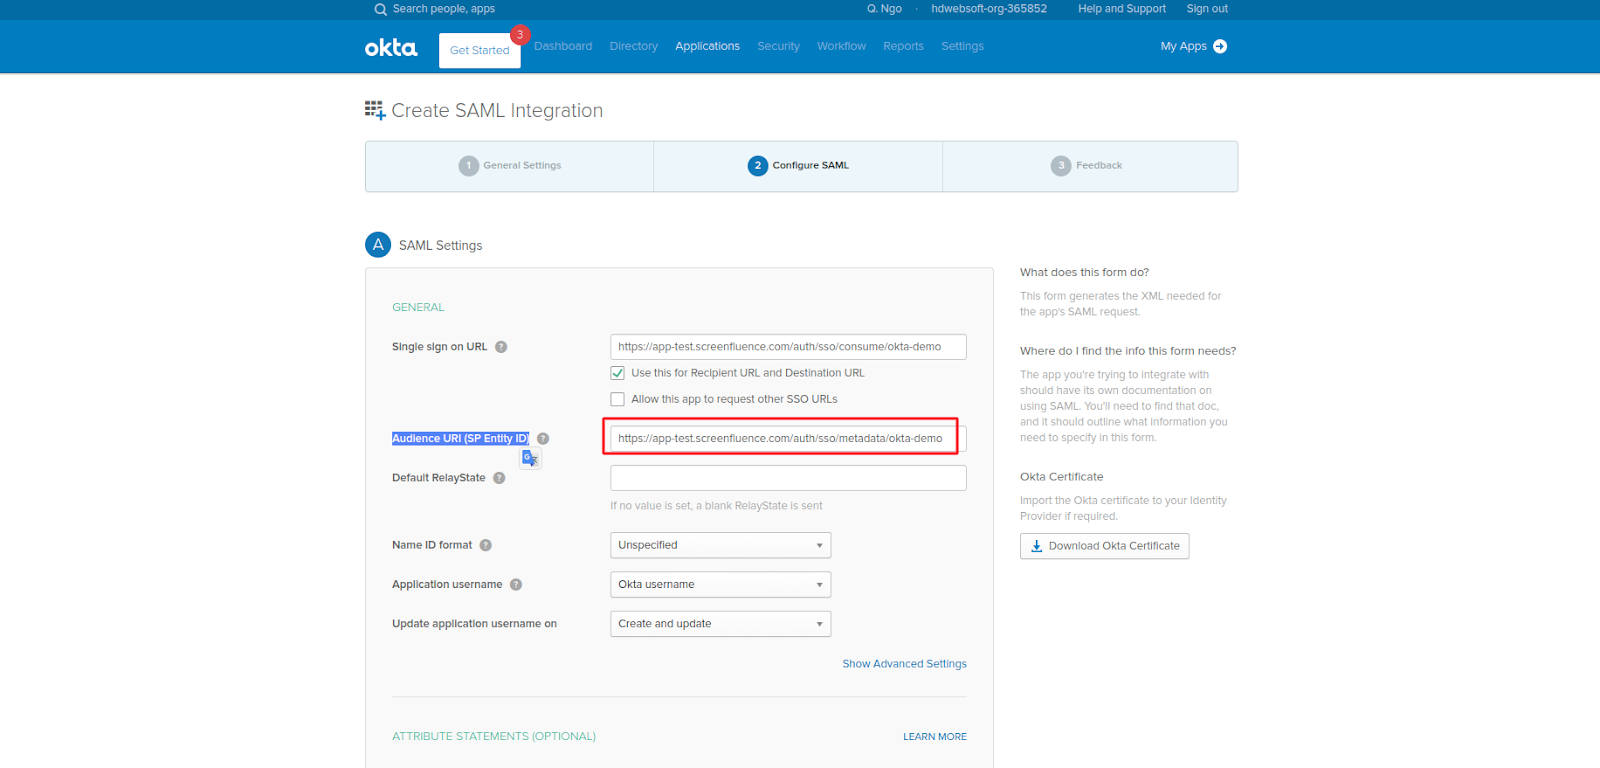
- Single sign on URL:
https://app.screenfluence.com/auth/sso/consume/{org_slug}(theorg_slugis the internal name we have for your organization) - Check the box titled "Use this for Recipient URL and Destination URL
- Audience URI (SP Entity ID):
https://app.screenfluence.com/auth/sso/metadata/{org_slug} - Press "Next"
- Select "I'm an Okta customer adding an internal app" and click "Finish"
At this point you have created the application on Okta. Now it's time to assign okta users to the application.
Assign Okta users to Screenfluence
At this point, you will need to select the users on Okta that will have access to Screenfluence.
- Click on the "Assignments" tab.
- Click on "Assign"
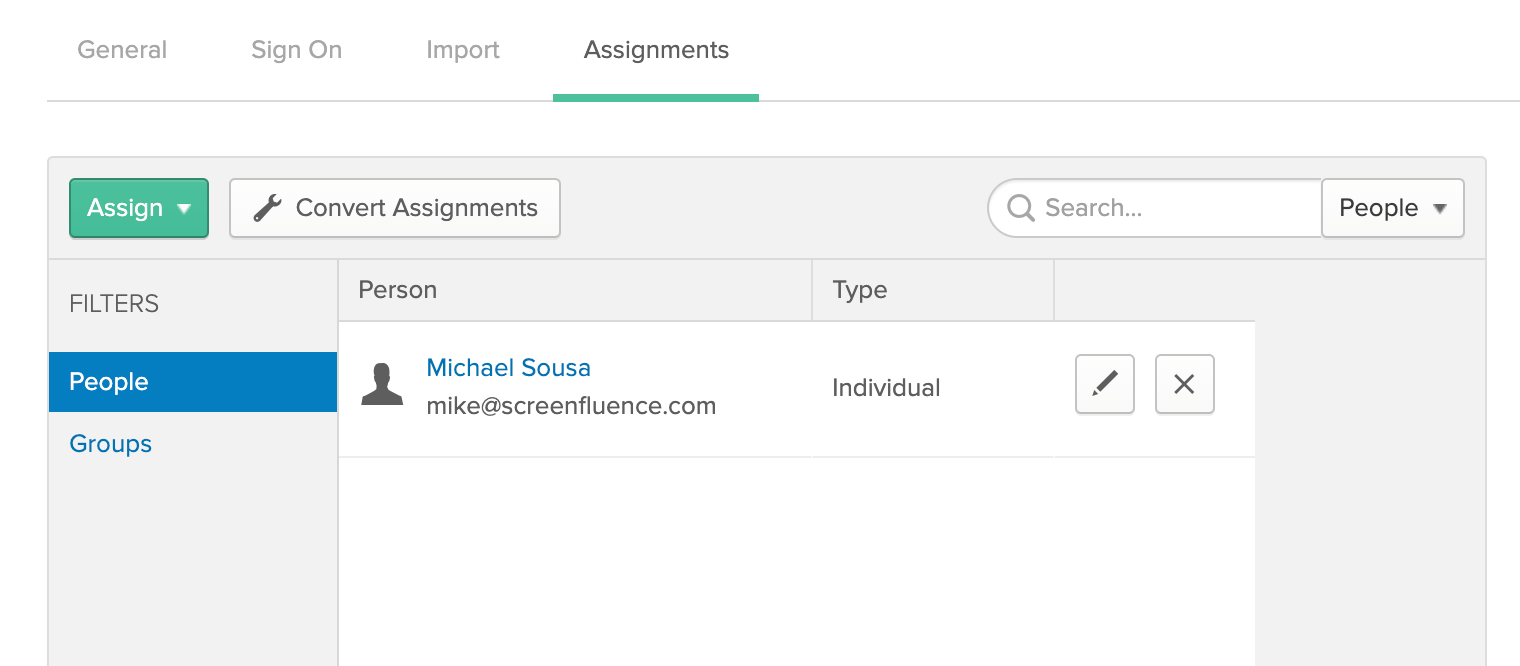
Repeat the process with every user who requires access to Screenfluence. Multiple users can be imported via CSV file. You can refer to Okta for further information on how to add multiple users.
Screenfluence Configuration
In order to complete the setup, you will need to collect the following information:
- Go to the tab titled "Sign On"
- Click on "View Setup Instructions"
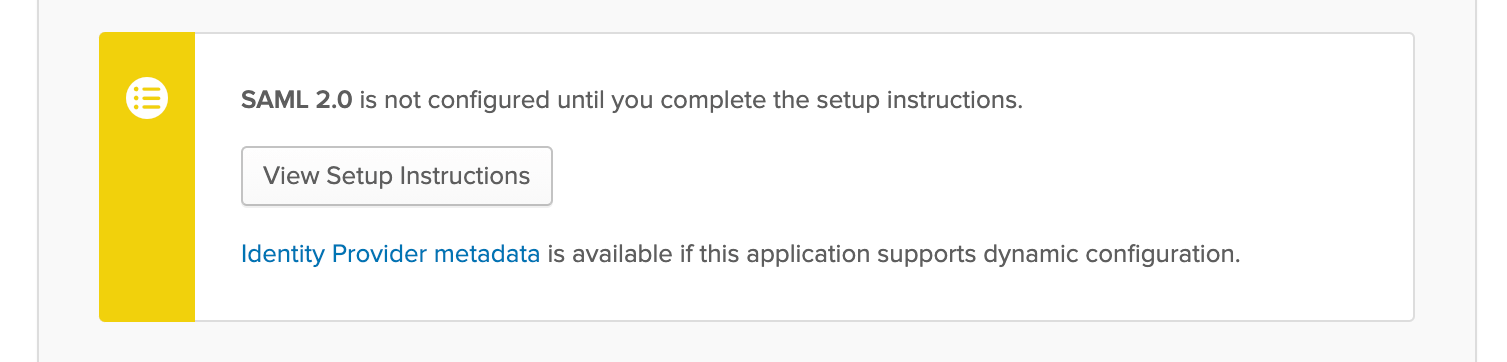
On this page you will see the 3 pieces of information you will need to provide to Screenfluence:
- Identity Provider Single Sign-On URL: this should be entered into the field titled
SSO URLon Screenfluence - Identity Provider Issuer: this should be entered into the field titled
Issueron Screenfluence - X.509 Certificate: this is your X.509 certificate. DO NOT send this to Screenfluence. First calculate the SHA-256 Fingerprint. An online tool that can be used can be found here: https://www.samltool.com/fingerprint.php
- Make sure to Select SHA-256 and then calculate the fingerprint.
- The value you need to enter into the field titled
Fingerprinton Screenfluence is the formatted fingerprint. This should look like a string that is formatted with a series of 256 characters that looks likeCF:29:E0......93:95:F7
At this point you can call Screenfluence Support to finalize your SSO configuration.